
How to clone parts of an image using the Retouch tool?
- Introduction
- Step 1: Download and install Soft4Boost Photo Studio
- Step 2: Run Soft4Boost Photo Studio and find the photo you want to edit
- Step 3: Activate the Retouch tool and edit your image
- Step 4: Save the edited photo
Sometimes you might need to copy a certain object displayed in your image and paste it to another place within the same image. You can easily achieve this result using the Retouch tool offered in the Soft4Boost Photo Studio program.
Step 1: Download and install Soft4Boost Photo Studio
Click here to download it. After the download is finished, run the S4BPhotoStudio.exe file and follow the installation wizard instructions.
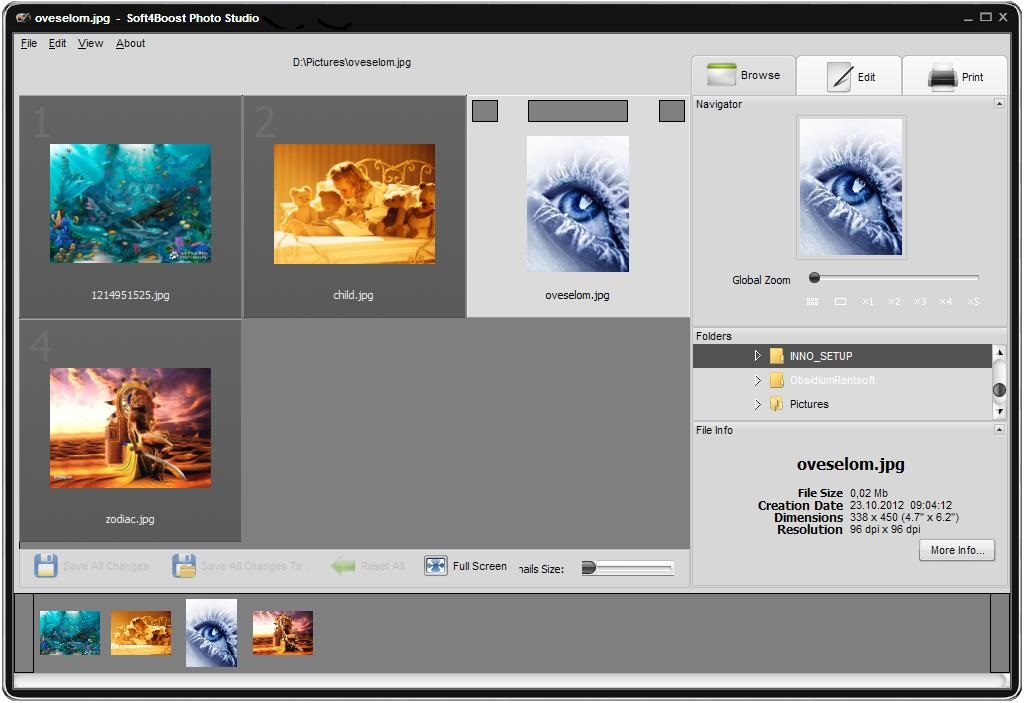
Step 2: Run Soft4Boost Photo Studio and find the photo you want to edit
First of all run Soft4Boost Photo Studio. To do that find the corresponding program icon on your desktop and double-click it. If you unchecked the Create desktop icon box during the installation, you can run the program from the Start menu. Please follow Start > All Programs > Soft4Boost > Photo Studio.
After the program was launched, click the Browse tab on the left side of the window. In the Folders section you will see the folder tree that represents the files and folders structure of your computer. Open the necessary folders by left-clicking them. The contents of the folder that contains the image file you want to edit will be displayed in the panel situated at the bottom of the window and in the Preview Area as thumbnails. Double-click the necessary image and it will be displayed occupying the whole Preview Area.
Step 3: Activate the Retouch tool and edit your image
As soon as you select an image by double-clicking it, the Edit tab will be opened. Find the Retouch button there and left-click it once to activate the Retouch tool and open its settings.

After that hover the mouse cursor over the image within the Preview Area - you will see a tool applying area beside it. After clicking the Retouch button the Retouch tool settings will also appear for you to view and change them if needed. They are Size and Softness.
To adjust the settings drag an indicator along the slider or enter a value in the field next to the slider using the keyboard depending on the setting you want to change and then press the Enter key. After that view the result in the Preview Area. As soon as the tool settings are adjusted, hover the mouse cursor over one of the objects in your image, so that the applying area covers it, click the left mouse button and without releasing it move to the needed place. The image part covered by the applying area will be 'copied' and transferred to another place.
You can experiment with these settings as you wish. If the result doesn't satisfy your needs, you can undo the last editing action by pressing the Undo button or bring the image back to its original state by pressing the Reset button. These buttons are situated at the bottom of the Edit tab.
As soon as the needed photo is edited, you can save it. To do that click the File section of the Main Menu situated in the upper left corner of the program window. Here you can select one of the save options: Save and Save As.
That's all! So easily you can clone parts of your image using the Retouch tool of the Soft4Boost Photo Studio program.