
How to save the project and video in Soft4Boost Video Studio?
- Introduction
- Step 1: Save your project
- Step 2: Assign a directory for saving your video
- Step 3: Start the creation of the new video
When working with Soft4Boost Video Studio, you can face a necessity to save your project. For example, it's useful if you want to interrupt your work and resume it later. Using your saved project you will be able to modify some applied effects or save your video into a new file format very quickly. The steps below will explain you how to do that and get your resulting movie.
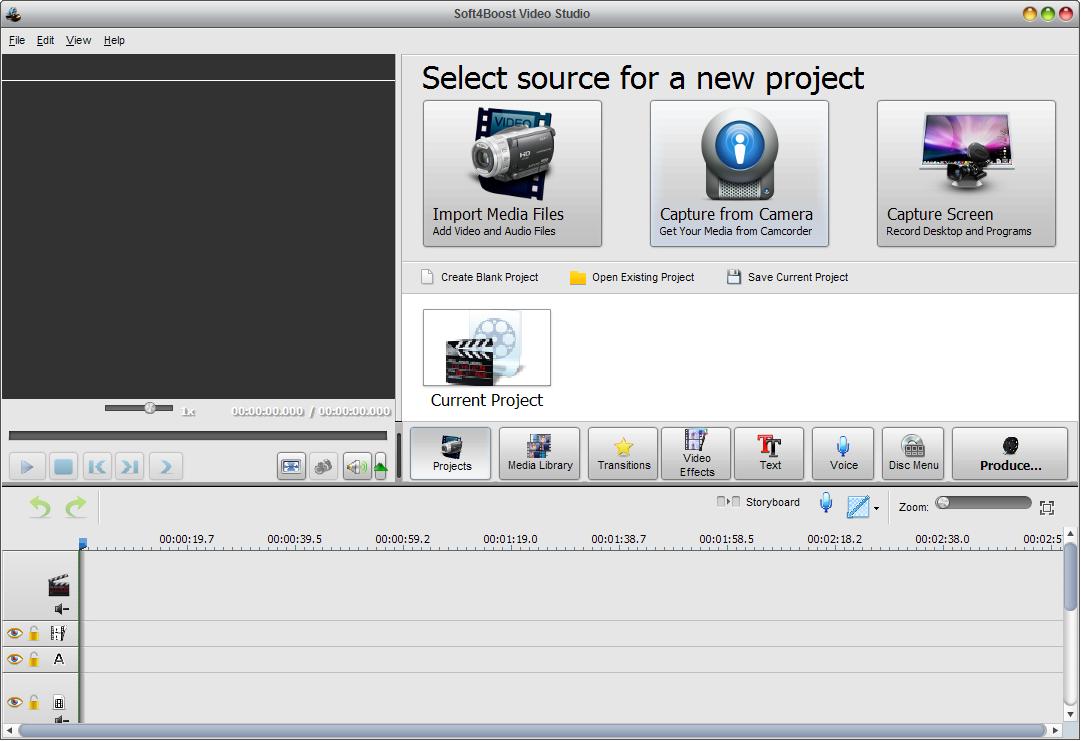
Click the Projects central button and press the Save Current Project button placed at the Start Project page:
The Save Project window will appear after that, assign the directory for saving your project file in it and click the Save button.
Step 2: Assign a directory for saving your video
When you finish working on your project, you should save the video with all the changes made. You can save it either into a single file of a certain format or as a DVD. To do that click the Produce... central button. The Produce window will appear. Select a category depending on the purpose your video is intended for: you can create a video file for storing on your computer HDD, burning onto an optical drive, uploading to a portable device or a web service. The description below the buttons will help you to make the choice. Click the Next button.
After pressing the Next button the window will change its appearance according to a category you choose. Whatever category you chose the Produce window will look the same way at the last stage. First of all, view your forthcoming video one more time using the Preview screen of that window to make certain everything is OK and input the name of your video. Then choose the directory to save your new video. To do that open the drop-down list labeled as Folder. The drop-down list includes some predetermined folders to store your file in but if you want to define your own specific folder choose the Browse option of that list. Select your directory in the appeared window and click OK.
Step 3: Start the creation of the new video
Now give the final touch to get the resulting video and click the Create button. The Produce window will look different again and video processing and saving will start.
Wait for some time until the process is complete. When it is over, you'll see other windows depending on your category choice in the Produce window. Now you can present your video to the audience proudly or gather your family members to experience the most exciting periods of the life together again.